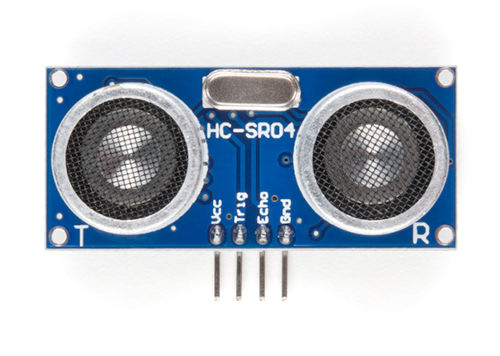
HC-SR04 Ultrasonic Sensor
In this guide, we'll learn how to use the HC-SR04 ultrasonic sensor with the ESP32. Ultrasonic sensors measure distances by emitting ultrasonic sound waves and calculating the time taken for them to return after bouncing off an object.
These kind of sensors you can normally find in the car parking assistance; When you reverse the car for parking, the sensor measures the distance between objects and alert you as you get close to it.
We will build a simple project that gradually increases the LED brightness using PWM, when the ultrasonic sensor detects an object distance of less than 30 cm - You can adjust this value as per your needs.

Prerequisites
Before starting, get familiar with yourself on these topics
🛠 Hardware Requirements
To complete this project, you will need:
- HC-SR04 Ultrasonic Sensor (or HC-SR04+)
- Breadboard
- Jumper wires
- External LED (You can also use the onboard LED, just use the GPIO 2 instead)
HC-SR04 Specs.
The HC-SR04 ultrasonic sensor can measure distances from 2 cm to 400 cm, with an accuracy of up to 3 mm. It needs a 5V power supply to operate.
ESP32 Tolerance
In the next chapter, we'll dive into the details of how the sensor works, but the basic idea is pretty simple: it sends out a signal and waits to receive it back. When powered with 5V, the sensor's Echo pin outputs a 5V signal back to the connected device. But there is a problem, ESP32 GPIOs can only handle up to 3.6V. Anything higher risks damaging the microcontroller.
How do we solve it? Here are a few options:
- The simplest option is to get the HC-SR04+, an upgraded version that works with both 3.3V and 5V. Then use 3.3V to power up the module.
- Another option is to use a voltage divider (just a couple of resistors) between the Echo pin and the ESP32 to drop the voltage to 3.3V.
- The last option is to power the HC-SR04 with 3.3V. It might work, but may not be reliable. Avoid this option unless it's absolutely your last resort and you're fine with any potential side effects.